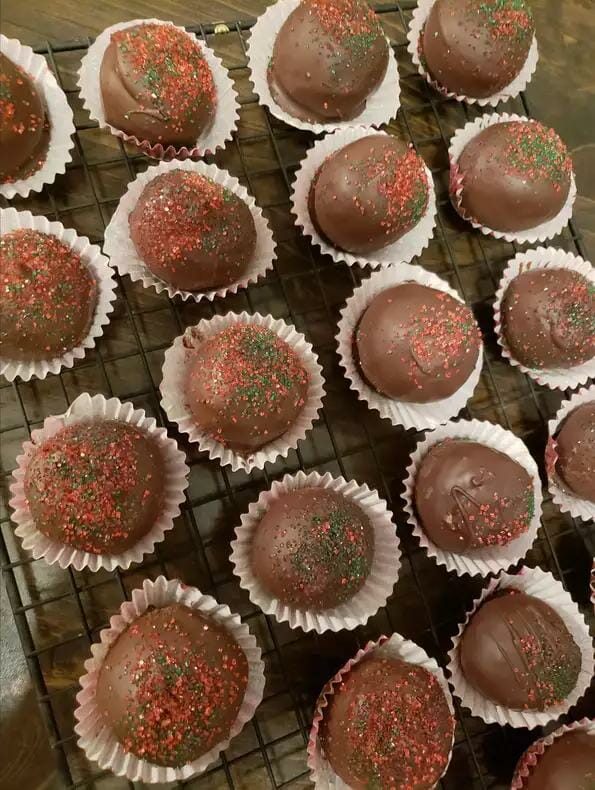
These candies are a must have for the holidays, but I make them throughout the year as well because they are so delicious. They are rich, but they are worth every bite. The combination of flavors and the creamy texture are decadent, and the cherries give a bit of bright color that make these pretty – perfect for a display!
My mom still laughs about a time when I was young and helping her make these for Christmas. I felt perplexed about the idea that Martha Washington created the recipe because I didn’t believe that certain ingredients existed in her day. Luckily, my mom cleared my confusion by explaining that the name of the candy originated from the company that first made the candy – the Martha Washington Candy Company. While they are an old-fashioned candy since they were created around 1900, but they were not made by Martha Washington. Thank goodness that issue got sorted or I would have lost sleep thinking about it!
This recipe is easy, and the candies are fantastic. They keep in the refrigerator well and because it makes a large batch, you will have plenty to share with others.
Enjoy!
INGREDIENTS
1 cup butter – melted
1 lb. confectioners’ sugar
1 Tbsp. vanilla extract
1 package (14 oz.) sweetened shredded coconut
1 can (14 oz.) sweetened condensed milk
1 jar (10 oz.) maraschino cherries – drained and chopped
3 cups pecans – finely chopped
16 oz. chocolate coating – melted
DIRECTIONS
In a large mixing bowl, combine the butter, vanilla, and sweetened condensed milk.
Add the confectioners’ sugar and mix until combined well.
Add the coconut and pecans, stir to combine.
Gently stir in chopped cherries.
Refrigerate at least two hours.
Use a small spoon or small cookie scoop to portion out filling. Roll into small (about 1 inch) balls and place on baking sheets lined with wax paper.
Refrigerate the balls on the baking sheets for at least 20 minutes until firm.
Melt the chocolate coating in microwave.
Dip balls into chocolate coating, tap off the excess, and place chocolate-covered balls on waxed paper.
Allow to sit until firm. Store in an airtight container in the refrigerator.
NOTES
Dipping: I use a fork but use whatever tool works best for you. If one begins to leak the filling after dipping, dip the spot again in the chocolate and it should seal the leak. To prevent this, make sure that each ball is fully coated with chocolate.
Chilling: There are two chilling times, and each is especially important. You want the filling to be well chilled throughout the process. I usually take out small amounts at a time, so the filling doesn’t soften while you are rolling the balls and coating the balls. If you feel that the dough is too soft even when chilled, add ½ cup more confectioners’ sugar and mix well.
Size: Keep each ball small. These are very rich and are meant to be made small. This also makes them easier to coat in chocolate. One tablespoon is about the most you should use per ball.
Cherries: Drain the cherries well. I use a strainer, then chop them, then put them on a paper towel and blot to dry them. Too much extra moisture will keep the filling from forming properly.
Storing: Place the balls in an airtight container and store in the refrigerator for up to two weeks.