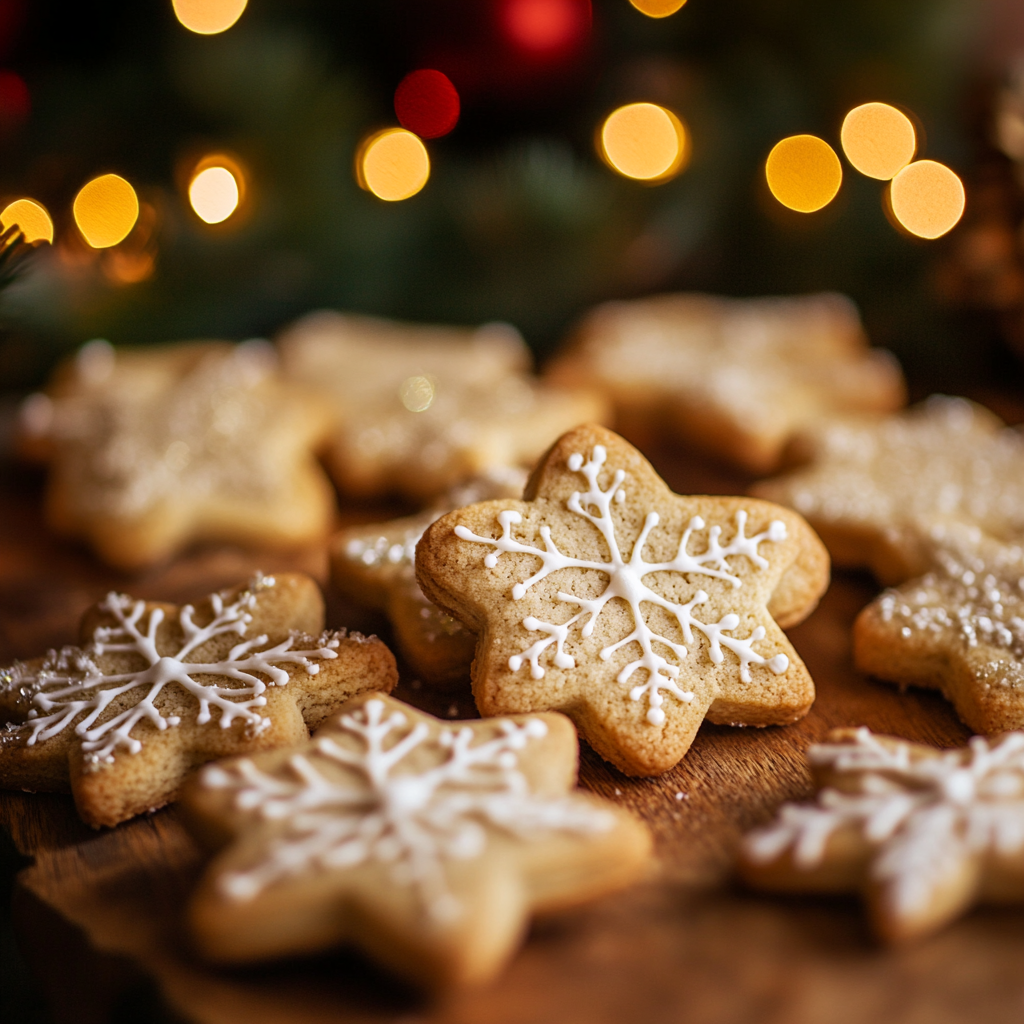
Christmas Cookies Recipe
Introduction
Christmas cookies are a timeless tradition, filling homes with the delightful aroma of butter, sugar, and festive spices. Whether you’re baking for a holiday party, gifting loved ones, or creating lasting memories with your family, these cookies bring joy to every occasion. This recipe covers classic sugar cookies perfect for decorating, along with tips to customize them with your favorite holiday flavors like gingerbread spice or peppermint. Gather your cookie cutters, sprinkles, and frosting—let’s bake up some holiday cheer!
Ingredients
For the Cookie Dough:
- 1 cup (2 sticks) unsalted butter, softened
- 1 cup granulated sugar
- 1 large egg
- 1 teaspoon vanilla extract
- 1/2 teaspoon almond extract (optional, for a festive flavor)
- 2 3/4 cups all-purpose flour
- 1 teaspoon baking powder
- 1/2 teaspoon salt
For the Royal Icing:
- 2 cups powdered sugar
- 2-3 tablespoons milk (adjust for consistency)
- 1 teaspoon vanilla extract
- Food coloring (optional)
Optional Decorations:
- Holiday sprinkles
- Edible glitter
- Mini chocolate chips
- Crushed candy canes

Step-by-Step Instructions
Step 1: Make the Cookie Dough
- In a large mixing bowl, beat the softened butter and sugar together until light and fluffy (about 2-3 minutes).
- Add the egg, vanilla extract, and almond extract (if using). Mix until well combined.
- In a separate bowl, whisk together the flour, baking powder, and salt.
- Gradually add the dry ingredients to the wet mixture, mixing until the dough just comes together. Do not overmix.
Step 2: Chill the Dough
- Divide the dough into two discs, wrap them in plastic wrap, and refrigerate for at least 1 hour (or up to 24 hours).
- Chilling helps the dough hold its shape when baked.
Step 3: Roll and Cut
- Preheat your oven to 350°F (175°C). Line baking sheets with parchment paper.
- On a lightly floured surface, roll out one disc of dough to about 1/4-inch thickness.
- Use festive cookie cutters (stars, trees, snowflakes, etc.) to cut out shapes. Transfer the cookies to the prepared baking sheets.
- Repeat with the second disc of dough.
Step 4: Bake the Cookies
- Bake the cookies for 8-10 minutes, or until the edges are just starting to turn golden.
- Remove from the oven and let the cookies cool on the baking sheet for 5 minutes before transferring them to a wire rack to cool completely.
Step 5: Make the Icing
- In a medium bowl, whisk together the powdered sugar, milk, and vanilla extract until smooth. Adjust the consistency by adding more milk (for thinner icing) or more powdered sugar (for thicker icing).
- Divide the icing into separate bowls and add food coloring as desired.
Step 6: Decorate the Cookies
- Use a piping bag or zip-top bag with a small corner snipped off to pipe the icing onto the cookies.
- Add sprinkles, edible glitter, or crushed candy canes while the icing is still wet.
- Let the cookies dry completely before stacking or packaging.

Serving and Storage Tips
Serving Tips
- Serve these cookies alongside hot cocoa, eggnog, or mulled cider for a festive treat.
- Use them as edible place cards for holiday dinners—write names on the cookies with icing!
Storage Tips
- Room Temperature: Store decorated cookies in an airtight container for up to 1 week. Place parchment paper between layers to prevent sticking.
- Freezing: Undecorated cookies can be frozen for up to 3 months. Freeze baked cookies or raw dough discs wrapped tightly in plastic wrap. Thaw before decorating or baking.
Helpful Notes
- Avoid Overmixing: Overmixing the dough can lead to tough cookies. Mix until just combined.
- Rolling Tip: If the dough is too sticky, roll it out between two sheets of parchment paper.
- Holiday Flavors: Add 1 teaspoon of cinnamon, nutmeg, or ginger to the dough for a spiced version. Or mix in finely chopped peppermint candies for a festive twist.
- Gluten-Free Option: Substitute all-purpose flour with a 1:1 gluten-free baking blend for a gluten-free version.
Tips from Well-Known Bakers
- Mary Berry: Use cold butter for a more shortbread-like texture in the cookies.
- Martha Stewart: Chill the cut-out cookies on the baking sheet for 15 minutes before baking to help them hold their shape.
- Duff Goldman: For intricate decorations, use a thinner icing for flooding and a thicker icing for outlining.
Frequently Asked Questions
- Can I make the dough ahead of time?
Yes! The dough can be refrigerated for up to 3 days or frozen for up to 3 months. - How do I prevent the cookies from spreading?
Chill the dough and use parchment paper or a silicone baking mat for even baking. - What if I don’t have cookie cutters?
Use the rim of a glass to cut round cookies, or shape the dough by hand. - Can I use butter substitutes?
Yes, plant-based butter or margarine can be used, but the flavor and texture may differ slightly. - How do I make the icing shiny?
Add a teaspoon of corn syrup to the icing for a glossy finish. - Can I double the recipe?
Absolutely! This recipe doubles well for larger batches. - What’s the best way to package cookies as gifts?
Place cookies in decorative tins or cellophane bags, separating layers with parchment paper. - Can I add chocolate?
Yes, dip half the cookie in melted chocolate or drizzle chocolate over the top for extra decadence. - How do I fix icing that’s too runny?
Add more powdered sugar until the desired consistency is reached. - Can kids help with this recipe?
Absolutely! Kids can help cut out shapes, apply icing, and add sprinkles—it’s a fun family activity!
