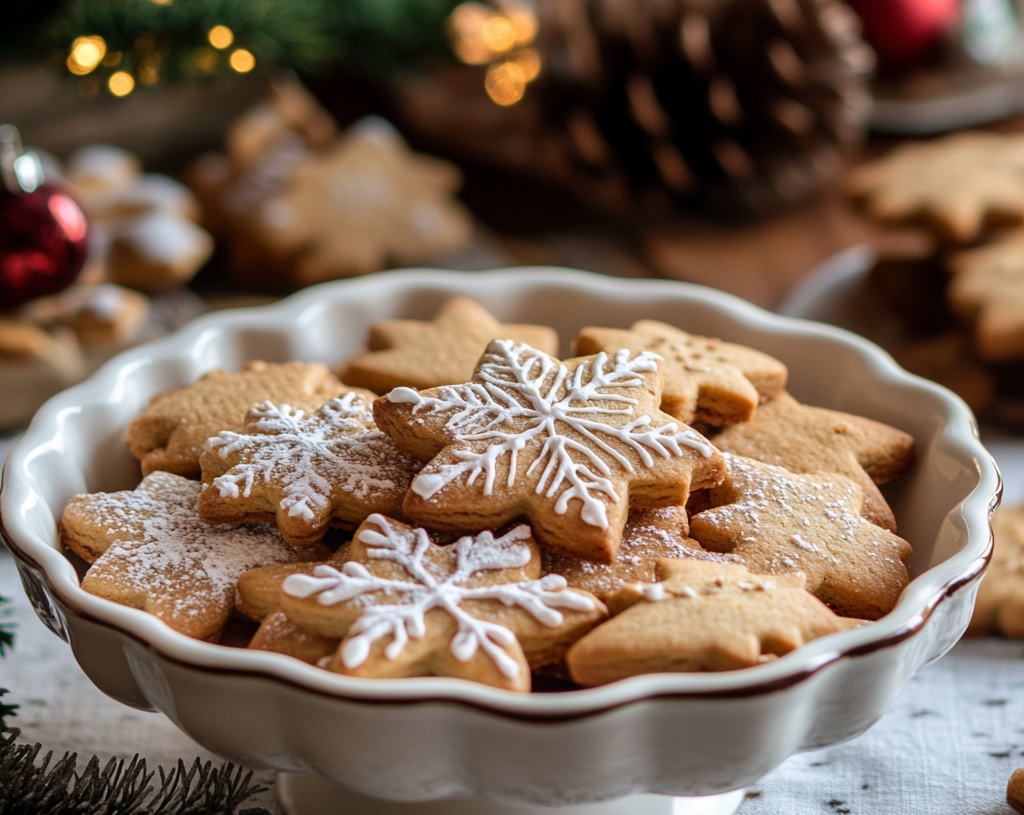
Christmas Cookies Recipe
Christmas is a time for joy, celebration, and indulgence, and what better way to spread holiday cheer than with a batch of delicious Christmas cookies? These sweet treats are a staple of the festive season, perfect for gifting, sharing, or enjoying with a cup of hot cocoa by the fireplace. Whether you’re a seasoned baker or trying your hand at baking for the first time, this detailed step-by-step guide will help you create perfectly festive cookies that look as good as they taste.
Ingredients for the Perfect Christmas Cookies
For the Dough
- 2 ¾ cups (350g) all-purpose flour
- 1 teaspoon baking soda
- ½ teaspoon baking powder
- 1 cup (225g) unsalted butter, softened
- 1 ½ cups (300g) granulated sugar
- 1 large egg
- 1 teaspoon vanilla extract
- ½ teaspoon almond extract (optional for a nutty hint)
For Decorating
- Royal icing or store-bought icing
- Food coloring (red, green, white, and your choice of colors)
- Sprinkles, edible glitter, or sugar pearls
- Cookie cutters in festive shapes

Step-by-Step Guide to Making Christmas Cookies
Step 1: Prepare Your Ingredients
Start by gathering all your ingredients and tools. Ensure the butter is softened to room temperature, which helps create a smooth dough. Preheat your oven to 375°F (190°C) and line your baking trays with parchment paper.
Step 2: Mix the Dry Ingredients
In a medium bowl, whisk together the flour, baking soda, and baking powder. This ensures even distribution of the leavening agents and prevents clumps. Set aside.
Step 3: Cream the Butter and Sugar
In a large mixing bowl, use a hand mixer or stand mixer to cream together the butter and sugar until light and fluffy, about 3-4 minutes. Add the egg, vanilla extract, and almond extract (if using), and mix until fully incorporated.
Step 4: Combine Wet and Dry Ingredients
Gradually add the dry ingredients to the wet mixture, mixing on low speed until a dough forms. If the dough feels too sticky, add a tablespoon of flour at a time until it’s manageable. Wrap the dough in plastic wrap and refrigerate for at least 30 minutes.
Step 5: Roll Out the Dough
On a lightly floured surface, roll out the dough to about ¼-inch thickness. Use your festive cookie cutters to cut out shapes like stars, trees, snowflakes, and candy canes. Transfer the shapes to the prepared baking trays, leaving about an inch of space between each cookie.
Step 6: Bake the Cookies
Bake in the preheated oven for 8-10 minutes, or until the edges are lightly golden. Keep an eye on the cookies to avoid overbaking. Let them cool on the baking sheet for 5 minutes before transferring them to a wire rack to cool completely.
Step 7: Decorate Your Cookies
Divide your royal icing into small bowls and mix in food coloring to create your desired colors. Use piping bags or zip-top bags with the corner snipped off for precision decorating. Get creative with sprinkles, glitter, and other decorations to make your cookies stand out!

Serving and Storage Tips
- Serving: Serve your Christmas cookies on a festive platter or wrap them in decorative cellophane bags for gifting. They pair wonderfully with hot chocolate, eggnog, or coffee.
- Storage: Store the cookies in an airtight container at room temperature for up to one week. For longer storage, freeze the undecorated cookies in a freezer-safe bag for up to three months. Thaw them and decorate when ready to use!
Helpful Notes
- Chilling the Dough: Don’t skip the refrigeration step. Chilled dough is easier to work with and helps cookies maintain their shape while baking.
- Thickness Matters: Rolling the dough evenly ensures consistent baking. Too thin, and they’ll burn; too thick, and they may not bake evenly.
- Decorating Tips: If you’re new to decorating, start with simple designs. Practice on parchment paper before piping onto the cookies.
Tips from Well-Known Chefs
- Ina Garten: Add a pinch of sea salt to your icing for a subtle contrast to the sweetness.
- Martha Stewart: For an extra layer of flavor, brush cookies with a thin glaze of apricot jam before decorating.
- Joanna Gaines: Use gel-based food coloring for vibrant icing without altering the consistency.
- Mary Berry: Experiment with natural flavorings like orange zest or cinnamon in your dough for festive aromas.
Frequently Asked Questions
1. Can I make the dough in advance?
Yes, you can refrigerate the dough for up to 2 days or freeze it for up to 3 months. Thaw in the fridge before using.
2. What’s the best way to avoid spreading while baking?
Ensure your dough is well-chilled and avoid over-greasing your baking tray. Parchment paper works best.
3. How do I make vegan Christmas cookies?
Replace the butter with vegan butter, the egg with a flaxseed or chia seed egg substitute, and check that your decorations are vegan-friendly.
4. Can I use pre-made dough?
Absolutely! Pre-made sugar cookie dough is a time-saver, but homemade dough often yields better flavor and texture.
5. What icing works best for decorating?
Royal icing is ideal for intricate designs as it dries firm. For simpler decoration, a buttercream or powdered sugar glaze works too.
6. How do I prevent my cookies from burning?
Keep an eye on your cookies while baking, especially if they’re thin. Bake them in the middle rack for even heat distribution.
7. What’s the easiest way to clean up after decorating?
Use parchment paper under your cookies while decorating to catch excess icing and sprinkles. Wipe tools with a damp cloth before washing.
8. How do I make gluten-free Christmas cookies?
Use a 1:1 gluten-free flour substitute and check that all other ingredients (like decorations) are gluten-free.
9. Why is my dough too crumbly?
If your dough is too crumbly, add a tablespoon of milk or water at a time until it comes together.
10. Can I add flavors to the icing?
Yes! Add a few drops of almond, peppermint, or orange extract to your royal icing for a festive twist.
