Christmas Cherry Bars Recipe
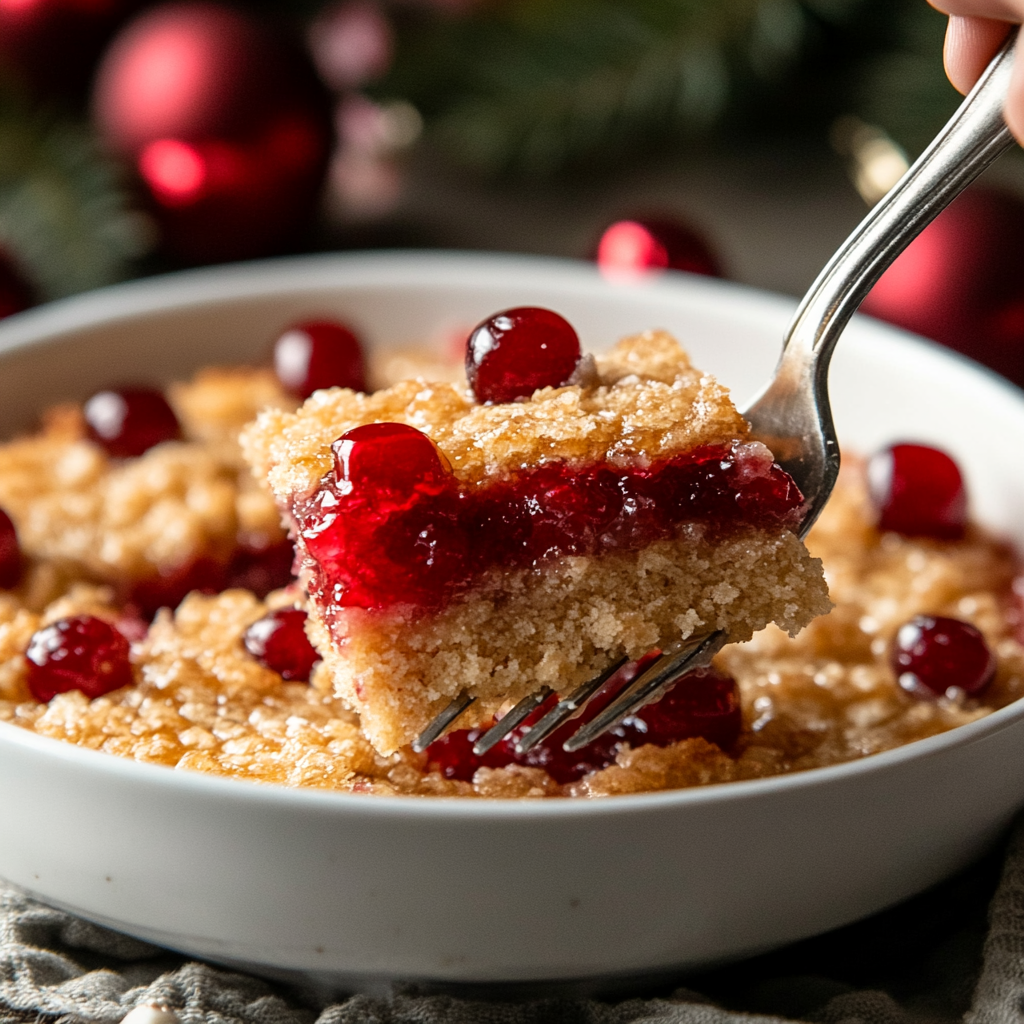
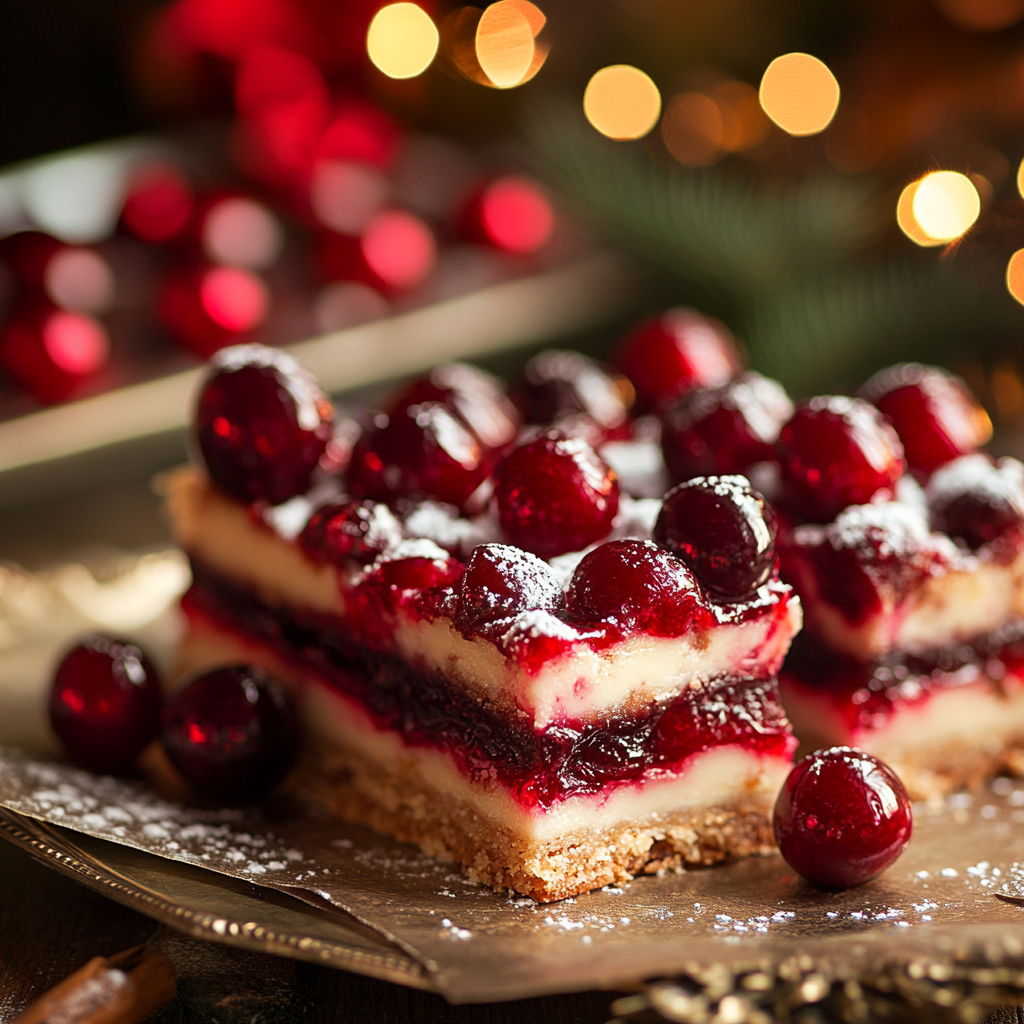
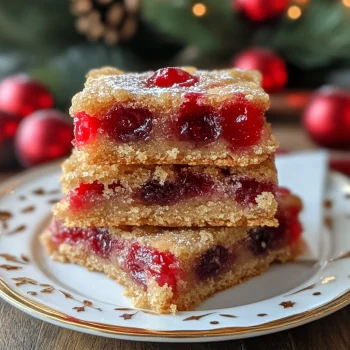
Christmas cherry bars are a festive, colorful dessert perfect for holiday gatherings. With a buttery shortbread crust, a cherry filling, and a sweet glaze, these bars are as beautiful as they are delicious. They’re easy to make and ideal for cookie trays, dessert tables, or just sharing with friends and family during the holidays. Here’s how to make these delightful Christmas cherry bars step by step.
Ingredients
For the Shortbread Crust:
- 1 cup unsalted butter, softened
- 1 ½ cups granulated sugar
- 4 large eggs
- 1 tsp vanilla extract
- ½ tsp almond extract (optional for extra flavor)
- 3 cups all-purpose flour
- 1 tsp baking powder
- ½ tsp salt
For the Cherry Filling:
- 1 (21 oz) can cherry pie filling
- ½ cup maraschino cherries, chopped (optional for more color)
For the Glaze:
- 1 cup powdered sugar
- 2 tbsp milk (more if needed for desired consistency)
- ½ tsp vanilla extract
- Red and green sprinkles (optional for decoration)
Equipment Needed:
- 9×13-inch baking dish
- Mixing bowls
- Hand mixer or stand mixer
- Spatula
- Wire rack

Step-by-Step Instructions
Step 1: Prepare the Oven and Pan
- Preheat your oven to 350°F (175°C).
- Grease a 9×13-inch baking dish or line it with parchment paper for easy removal.
Step 2: Make the Shortbread Crust
- In a large mixing bowl, beat the softened butter and granulated sugar together until light and fluffy.
- Add the eggs one at a time, mixing well after each addition.
- Mix in the vanilla extract and almond extract if using.
- In a separate bowl, whisk together the flour, baking powder, and salt.
- Gradually add the dry ingredients to the wet ingredients, mixing until just combined.
Step 3: Assemble the Cherry Bars
- Spread about two-thirds of the dough evenly into the bottom of the prepared baking dish.
- Spread the cherry pie filling evenly over the dough layer. Sprinkle the chopped maraschino cherries on top if using.
- Drop spoonfuls of the remaining dough over the cherry filling. It doesn’t need to cover the filling completely; a rustic, patchy look is perfect for this dessert.
Step 4: Bake
- Place the dish in the preheated oven and bake for 30-35 minutes, or until the top is lightly golden and set.
- Remove from the oven and let cool in the pan for at least 30 minutes before adding the glaze.
Step 5: Prepare the Glaze
- In a small bowl, whisk together the powdered sugar, milk, and vanilla extract until smooth.
- Drizzle the glaze over the cooled bars using a spoon or a piping bag.
Step 6: Decorate and Serve
- Add red and green sprinkles for a festive touch.
- Let the glaze set for about 15 minutes before slicing into bars.

Serving and Storage Tips
- Serving: These bars are perfect as a standalone treat or alongside other holiday desserts. They pair beautifully with a cup of coffee or hot cocoa.
- Storage: Store in an airtight container at room temperature for up to 3 days or in the refrigerator for up to a week.
- Freezing: Wrap the bars individually or as a whole in plastic wrap and aluminum foil, and freeze for up to 2 months. Thaw in the refrigerator before serving.
Helpful Notes
- Cherries: For added color and texture, you can mix in chopped maraschino cherries with the cherry pie filling or use a combination of cherry and raspberry fillings.
- Glaze Consistency: If the glaze is too thick, add more milk a teaspoon at a time until the desired consistency is reached. If it’s too thin, add more powdered sugar.
- Extract Substitution: Almond extract adds a nice holiday flavor, but it can be omitted or replaced with lemon extract for a citrus twist.
Tips from Well-Known Chefs
- Ina Garten: Recommends adding a touch of orange zest to the crust for a bright, complementary flavor.
- Martha Stewart: Suggests using high-quality cherry pie filling for the best flavor.
- Sally McKenney (Sally’s Baking Addiction): Advises not overmixing the dough to keep the crust tender.
Frequently Asked Questions
Q1: Can I use homemade cherry filling?
Yes, you can make a simple cherry filling by cooking fresh or frozen cherries with sugar and cornstarch on the stovetop until thickened.
Q2: Can I use other fruit fillings?
Absolutely! These bars are also delicious with raspberry, blueberry, or apple pie filling.
Q3: How do I cut the bars neatly?
Use a sharp knife and wipe it clean between each cut. Chilling the bars first helps them slice more cleanly.
Q4: Can I make these bars gluten-free?
Yes, substitute all-purpose flour with a 1:1 gluten-free baking blend.
Q5: Can I add nuts to the recipe?
Yes, adding chopped pecans or walnuts to the dough or on top of the filling adds a nice crunch.
Q6: What’s the best way to spread the dough over the filling?
Use a small spoon or your fingers to drop and gently press the dough over the cherry filling.
Q7: How do I know when the bars are done baking?
The edges should be golden, and the center should look set and not jiggly. A toothpick inserted into the dough portion should come out clean.
Q8: Can I double the recipe?
Yes, bake in a larger sheet pan and adjust the baking time as needed.
Q9: Is it okay to use salted butter?
Yes, but reduce the added salt in the recipe to balance the flavor.
Q10: Can I make these bars vegan?
Yes, use a vegan butter substitute, flaxseed eggs (1 tbsp flaxseed meal + 3 tbsp water per egg), and plant-based milk for the glaze.
Enjoy these festive Christmas cherry bars, a treat that brings holiday cheer to any dessert spread!
